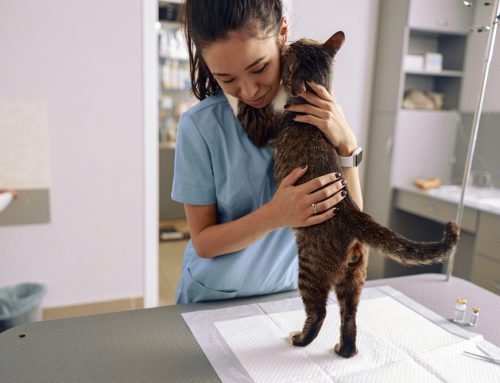
Ear cleaning is an essential pet grooming step that helps maintain a healthy ear environment and prevent infections. Although ear cleaning may seem intimidating, you can perform the task at home with minimal supplies and effort. The Kauai Veterinary Clinic team explains why and when to clean your pet’s ears and walks you through the step-by-step process.
Why clean your pet’s ears?
Ear cleaning is vital for maintaining your pet’s ear health for the following reasons:
- Infection prevention — Wax and debris buildup in the ear can lead to infections in pets with an underlying predisposition.
- Infection detection — Routine ear checks allow you to spot early infection signs, including redness or odor, before they progress.
- Comfort — In addition to sometimes causing infections, excess ear wax can be itchy and uncomfortable.
Recommended pet ear cleaning frequency
Your pet’s recommended ear cleaning frequency depends on their breed and health history. Healthy dogs with upright ears require cleaning only after bathing or swimming or every few weeks for maintenance, while healthy cats do not typically require routine ear care. Dogs need more frequent cleanings that our veterinary team determines based on the following:
- Floppy ears — Heavy ears that hang down low (e.g., Basset hounds, cocker spaniels) can trap moisture and lead to infections.
- Narrow ear canals — Upright or half-prick ears with narrow canals (e.g., shar-pei, pugs) can also trap moisture and lead to infections.
- Infection history — Pets with an ear infection history are more likely to develop future infections.
- Allergies — Allergies cause inflammation in the skin and ears and can lead to more frequent infections.
Step-by-step pet ear cleaning guide
Ear cleaning is a more straightforward process than you probably think. Follow these steps:
- Gather supplies — You’ll need an appropriate ear-cleaning solution recommended by our veterinary team, cotton balls or gauze, and high-value treats. Do not attempt to make your own ear-cleaning solution unless directed by a veterinary professional.
- Use gentle restraint — Ask your pet to sit or lie and stay in a comfortable spot. If necessary, recruit another person to assist with gentle restraint. If your pet strongly resists, contact our team for assistance.
- Inspect the ears — Before you begin cleaning, look for ear redness, discharge, or a foul odor, which can indicate an infection. Other signs include scratching and head-shaking. If you spot a problem, do not proceed with cleaning, and call our team for advice.
- Apply ear cleaning solution — Place a cotton ball soaked in ear-cleaning solution in the ear canal or squirt the solution directly in the ear.
- Massage the ear base — Lift up the ear and gently massage the base to break up wax and debris and push them upward to the canal opening.
- Wipe away ear debris — Wipe away the loosened debris with a cotton ball or gauze—never cotton swabs, which can cause an injury.
- Provide a reward — Give your pet treats and praise for their cooperation.
A note on chronic or recurrent infections

Many pets suffer from frequent ear infections, typically because of an underlying cause, such as the pet’s conformation (e.g., narrow or floppy ears) or a medical issue. The most common reason for recurrent infections is allergies, which typically affect the skin and ears together, but can sometimes present as recurrent ear infections alone. Other causes include ear tumors or polyps, foreign material, ear mites, and conditions that impact the immune system. Our veterinary team may recommend advanced testing, including blood tests, imaging, or allergy tests, to look for the underlying cause if your pet visits us frequently because of ear infections.
Regular ear cleaning is critical to help prevent infections, ensure comfort, and allow for early problem detection in your pet. Contact the Kauai Veterinary Clinic team to schedule a visit if your pet suffers from ear discomfort or for an ear-cleaning product recommendation and cleaning demonstration.


Leave A Comment